This post originally appeared over at Easily Dunn as a guest post.
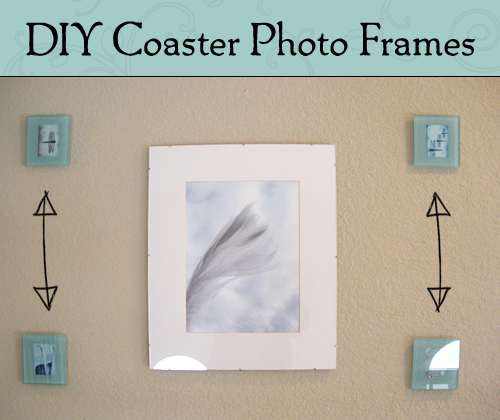
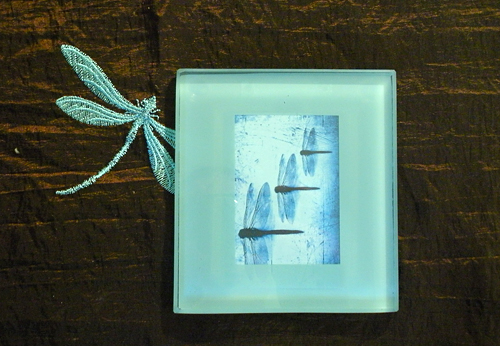
Today I’ve got a simple but fun DIY for you. 🙂 Now, I don’t know how most people feel about coasters, but it’s one thing I can be a little OCD about. I hate water rings on tables, whether it’s a water-damagable table or not. So absorbent coasters are a must for me. Notice I specified ~absorbent~. I have never understood the point of glass or other sealed coasters, where the condensation just builds up and rolls off the edge onto the table anyway. Silly! A few years ago, my aunt gave me a set of coasters for Christmas. They were a nice seafoam blue color, very pretty, the kind that you can slide your own photo into. But alas – they were glass. I knew that I would never use them for their intended purpose, so I came up with a different way to show them. Here is what you will need if you find yourself in a similar situation and want to turn those glass photo coasters into wall frames:
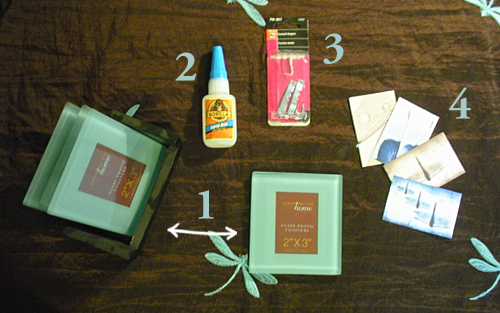
- The coasters in question.
- Super glue.
- Sawtooth hangers (just the hangers, not the nails that come in the set). You can find these at any hardware store, or even Walmart.
- Your choice of cool photos, trimmed to the appropriate size for your frames.
Instructions
1. First thing first, remove the stock photos that come in the coasters. Keep the cardboard backing, if there is any, to help stabilize your own photos later.
2. Next, apply superglue to the flat ends of the bracket.
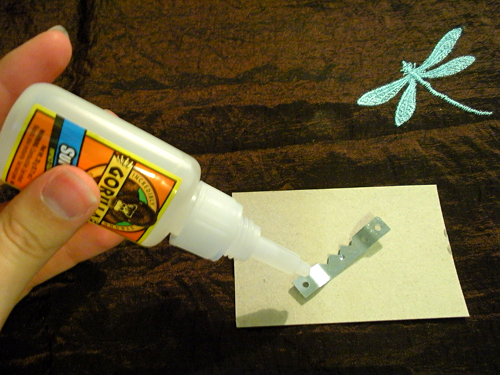
3. Place on the back of the coaster. Make sure it is centered between the two sides, and also that it’s on the top edge (above where the photo slides in – don’t want to accidentally put it on the bottom edge and have the photo fall out when you hang it!).
4. Hold in place for a few minutes so the glue sets.
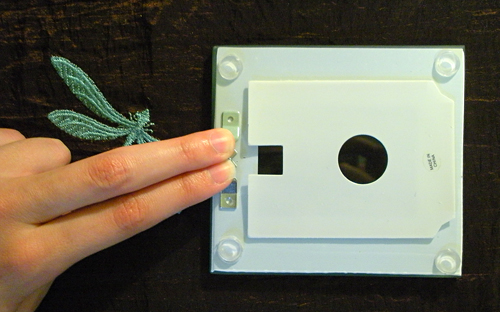
5. Repeat steps 2-4 for each coaster that you have.
6. Once each coaster has a bracket, take your chosen photos and slide one into each coaster. Slide the cardboard backing from step 1 in behind it.
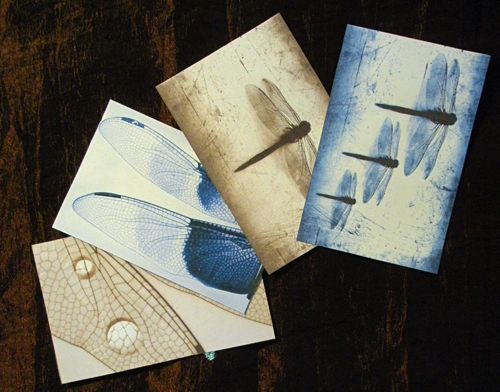
7. Voila! Done. Hang on the wall and enjoy. 🙂
